How to Set Up a Tent for Beginners: A Step-by-Step Guide

Disclosure: As an Amazon Associate, OutbackKit earns from qualifying purchases. Some links on this page are affiliate links, so we may earn a small commission if you buy through them, at no extra cost to you. We only point to gear we’d be happy to take on our own trips.
Pitching a tent looks easy when someone experienced does it. Your first time, at dusk, with the wind picking up and the kids hungry, is a different story. The good news is that most tents follow the same basic steps, and once you understand why each step matters, you’ll get faster every trip.
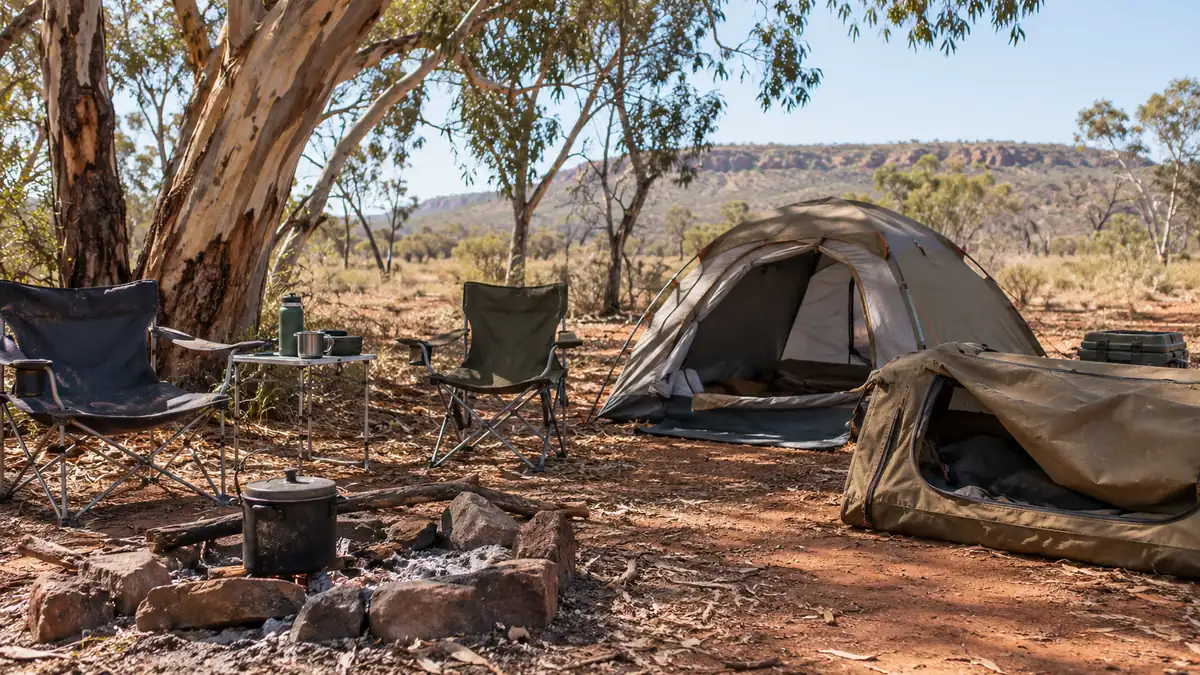
This guide covers dome and tunnel style tents, the most common kinds in Australia. Big canvas and instant tents work a bit differently, so always read your tent’s instructions too.
Step 0: Practise at home
The single best tip for beginners is to set up the tent in your backyard or a park before your trip. You’ll learn how it goes together, find any missing pegs or poles, and see whether it fits your mattress. It’s also a good time to waterproof-test it with a hose.
If you have a canvas tent or swag, it usually needs “seasoning” before the first trip: wetting it and letting it dry, sometimes a couple of times, so the cotton swells and seals the stitching. Check the manufacturer’s advice.
Step 1: Choose your spot
Where you pitch matters as much as how.
- Flat and smooth. Look for the flattest spot you can find. If there’s a slight slope, put your head uphill.
- Clear the ground. Remove sticks, stones, gumnuts and prickles that could damage the floor or poke you all night.
- Not in a dip. Low spots collect water when it rains. Look for slightly raised ground.
- Check overhead. Never pitch under big gum trees with dead branches. Eucalypts can drop limbs without warning, even on calm days.
- Think about wind and sun. Point the narrow or lower end of the tent into the wind. Morning shade is nice in summer.
- Not too close to the fire or tracks, and well back from creeks, which can rise quickly.
Our camping in the rain guide has more on picking a well-drained site.
Step 2: Lay out the footprint and tent
- Put down the groundsheet or footprint first, where the tent will go. It protects the floor and keeps it drier.
- Fold the groundsheet edges in so nothing sticks out past the tent floor. If it sticks out, it catches rain and funnels water under you.
- Unroll the tent body on top, with the door facing the way you want, usually away from the wind.
Step 3: Assemble the poles
Shock-corded poles click together section by section. Make sure each joint is fully seated, because a half-connected joint is the most common cause of snapped poles.
Many tents colour-code poles and clips, which makes it easy to see which pole goes where. Lay each pole next to where it goes before you start.
Step 4: Raise the tent
Dome tents usually work like this:
- Feed the poles through the sleeves or attach them to the clips, crossing them over the top of the tent.
- Put one pole end into its corner grommet or pin.
- Gently flex the pole and seat the other end. The tent will start to stand up.
- Repeat for the other poles, then clip the rest of the body to the poles.
Don’t force poles. If it’s not bending easily, something is in the wrong spot. With two people, one holds and one clips, and it’s much easier.
Step 5: Peg out the corners
Before the wind takes your tent for a tumble, peg the corners.
- Pull each corner out so the floor is square and taut, but not stretched.
- Push or tap pegs in at about a 45-degree angle, leaning away from the tent. That angle holds much better than straight down.
- Peg opposite corners first, so the shape stays even.
Use the right pegs for the ground. The thin pegs that come with most tents struggle in hard or sandy ground. Hard ground needs tougher steel pegs. Sand needs long, wide sand pegs. Carry spares, plus a mallet.
(heavy duty tent pegs on Amazon)
Step 6: Put on the fly
The fly is the waterproof outer layer, and it’s what keeps you dry.
- Find the door on the fly and line it up with the tent door.
- Drape it over the tent and attach it to the corners, usually with buckles or rings.
- Fasten any Velcro tabs underneath to the poles. These keep the fly in place in the wind.
- Tension the fly so it’s tight and isn’t touching the inner tent. If the fly sags onto the inner, condensation and rain soak straight through.
Step 7: Guy ropes
A lot of beginners skip the guy ropes. Don’t. They stop the tent flapping, keep the fly off the inner, and are what keeps it standing in a storm.
- Peg each guy rope out in line with the seam it’s attached to, a good step or so from the tent.
- Tighten with the slider until it’s firm, but don’t pull the tent out of shape.
- Tie bright cord or reflectors on them so no one trips at night.
Step 8: Final checks
- Walk around and even out the tension.
- Open the vents. Ventilation cuts condensation, which is why tents feel “wet inside” in the morning.
- Zip the doors closed when you’re not in the tent to keep insects, snakes and spiders out.
- Put your bedding in last, and keep your gear off the walls.
Pitching in wind
- Peg the windward side first, and if it’s really windy, peg the tent down before you put the poles in.
- Point the lowest, most streamlined end into the wind.
- Use every guy rope, and add rocks on the pegs in sand.
- Keep the bags inside the tent so they don’t blow away.
Pitching in the rain
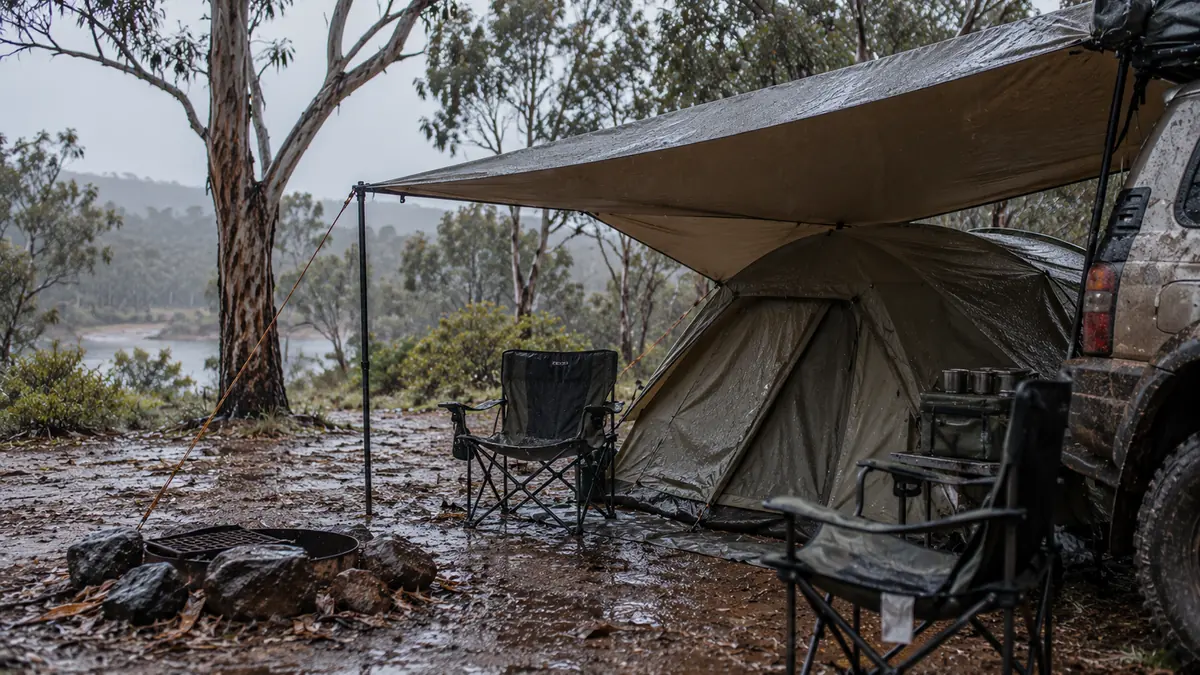
Some tents let you pitch the fly first, which keeps the inner dry. If not, work fast and get the fly on as soon as possible. A tarp strung up first gives you a dry place to work.
Packing down
- Take out all your gear and sweep out the floor.
- Remove the fly and shake off water and leaves.
- Remove the pegs and count them. Pull them out by the head, not the rope.
- Fold the poles from the middle out, so the shock cord isn’t stretched.
- Fold the tent to the width of the bag and roll it toward the door to push out the air.
If you pack away wet, dry it within a day or two. Packing a tent wet is how mould starts, especially canvas. Set it up in the backyard when you get home.
Common beginner mistakes
- Never practising at home
- Pitching under trees or in a dip
- Groundsheet sticking out past the floor
- Skipping guy ropes
- Fly touching the inner tent
- Using flimsy pegs in hard or sandy ground
- Packing away wet and forgetting about it
Final word
The first time takes a while. By the third trip you’ll be pitched in 10 minutes and making a cuppa while the neighbours are still reading instructions. Practise at home, pick a smart spot and use those guy ropes. If you’re still choosing your shelter, check out our swag vs tent guide.
Top of the line vs best value
Well-known options sold in Australia, if you want a starting point. We haven’t independently tested every one, prices change often, and the right choice depends on your trip, so check current prices, specs and warranty before buying. Not ready to buy? Pop it in your Amazon cart so it’s there when you are.
Tent
- Top of the line: Snow Peak Land Nest Dome M on Amazon · Add to Amazon cart: premium, well-built 4-person dome tent.
- Best value: Coleman Instant Up 4-person tent on Amazon · Add to Amazon cart: budget-friendly, quick to pitch.