Packing and Organising a 4WD for a Camping Trip
Disclosure: As an Amazon Associate, OutbackKit earns from qualifying purchases. Some links on this page are affiliate links, so we may earn a small commission if you buy through them, at no extra cost to you. We only point to gear we’d be happy to take on our own trips.
A well-packed 4WD is safer, handles better and makes camp easier. A badly packed one can be overweight, unstable and dangerous in a crash, with loose gear becoming projectiles. Here’s how to pack and organise your vehicle for a camping trip.
Weight ratings vary between vehicles and even between variants of the same model. Always use the figures in your vehicle’s owner’s manual, compliance plate and any modification certificates. If in doubt, get your loaded vehicle weighed.
Understand your weight limits first
- Kerb weight: the vehicle’s weight empty with fluids and usually a full fuel tank. Check how your manufacturer defines it.
- GVM (Gross Vehicle Mass): the maximum the vehicle can weigh fully loaded, including people, fuel, water, gear and accessories.
- Payload: roughly GVM minus kerb weight. This is what you can add.
- GCM (Gross Combination Mass): the maximum combined weight of the vehicle and anything it’s towing.
- Axle load limits: front and rear axles each have their own limits.
- Roof load limit: the manufacturer’s maximum roof load, which may differ between driving and when stationary. Roof racks have their own rating too.
- Towing limits and tow ball download, if you’re towing.
Accessories eat into your payload. Bull bars, drawers, long-range tanks, winches, roof racks, rooftop tents and dual batteries can use a surprising share of it before you’ve packed a single bag.
Weigh your vehicle
- Use a public weighbridge with the vehicle loaded as you’ll travel, ideally checking each axle.
- Being over GVM or axle limits can affect safety, legality and insurance.
- If you consistently need more capacity, talk to a professional about legal GVM upgrades, which must be certified.
Weight distribution principles
- Heavy items low and central, ideally between the axles.
- Keep the roof light. Roof weight raises the centre of gravity and affects handling and rollover risk.
- Balance side to side.
- Avoid lots of weight behind the rear axle, which can lighten the front wheels and affect steering and braking.
- Water and fuel are heavy. Plan where they go carefully. See our camping water guide.
What goes where
Low and central (heavy)
- Water containers or tanks
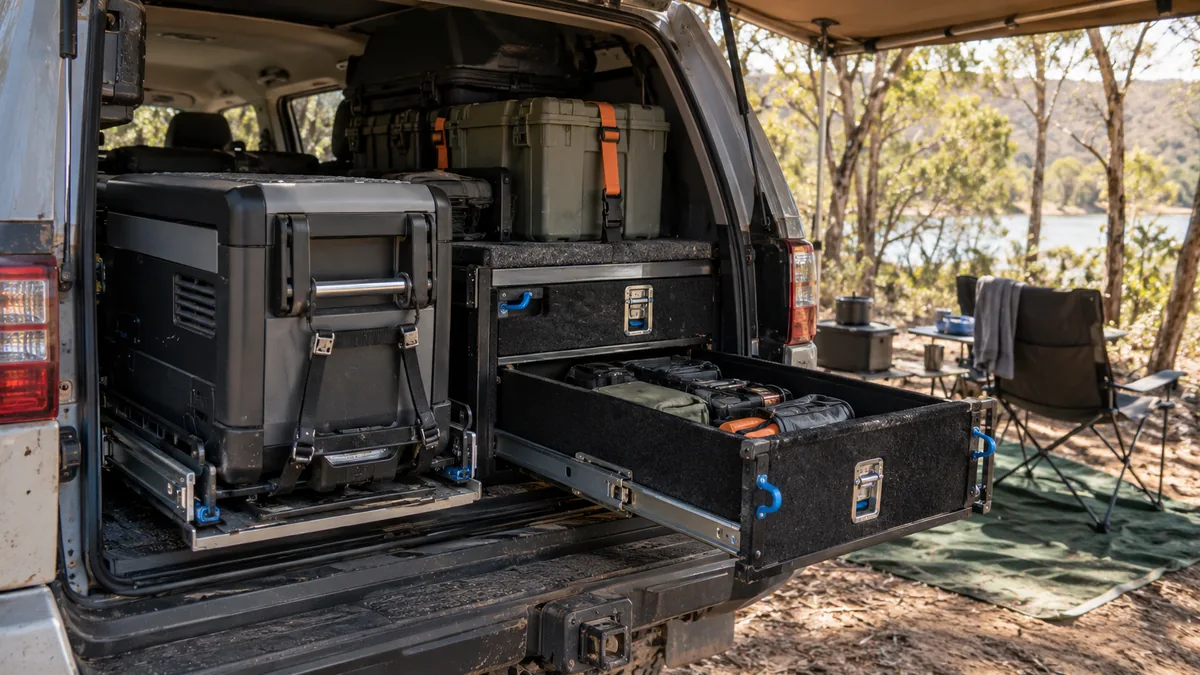
- Fridge (often in the rear on a slide)
- Recovery gear
- Tools and spares
- Food tubs and cans
Rear cargo area
- Drawers for tools, recovery gear and kitchen gear
- Fridge on a fridge slide (fridge slides on Amazon)
- Kitchen box
- Chairs and table, packed last for easy access
Cabin
- Things you need while driving: water, snacks, maps, sunscreen, first aid kit
- UHF radio, PLB and phone
- Nothing heavy loose in the cabin. Secure everything, or put it in the cargo area behind a cargo barrier.
Roof (light and bulky)
- Swags, tarps, chairs, awning and light, bulky items
- Within roof and rack load limits
- Recovery boards if mounted securely
Easy-access spots
- Recovery boards and shovel: you want them reachable when bogged, not under everything.
- First aid kit: always accessible.
- Fire extinguisher: mounted securely within reach.
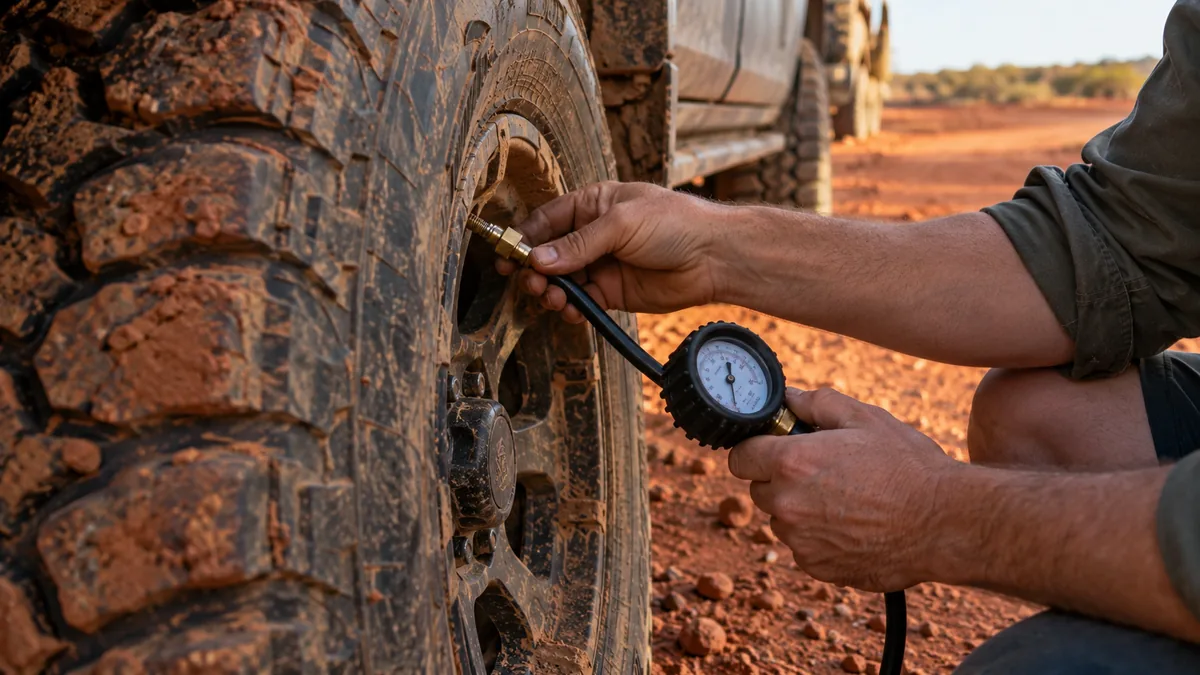
- Tyre gear: gauge, deflators and compressor.
Drawers and storage systems
- Drawer systems keep gear organised and secure, but add weight. (drawer systems on Amazon)
- Plastic storage tubs are cheap, light and flexible. Use clear or labelled tubs. (storage tubs on Amazon)
- Soft bags fill odd spaces but are harder to secure.
- Cargo barrier between cabin and cargo area protects occupants from shifting loads. (cargo barriers on Amazon)
- Label everything so you’re not unpacking the whole car to find one thing.
Tie-downs and securing the load
Loose gear can become extremely dangerous in a sudden stop, collision or rollover.
- Use rated ratchet straps or cam straps and the vehicle’s anchor points. (ratchet straps on Amazon)
- Use cargo nets for awkward loads.
- Recheck straps after the first few kilometres and regularly on corrugated roads.
- Corrugations loosen everything. Use non-slip matting and pack items tightly.
- Secure gas bottles upright and outside the cabin, in a ventilated spot.
- Store fuel in approved containers in a secure, ventilated location, never in the cabin.
Packing tips
- Pack by use: kitchen together, recovery gear together, clothes per person.
- Last in, first out: camp setup items on top or nearest the door.
- Lay everything out at home first, and remove anything you don’t need.
- Do a test pack before the trip, and drive with it to check rattles and access.
- Keep a packing list and refine it after every trip. Start with our first outback camping checklist.
Checklist
- GVM, payload, axle and roof limits checked in your vehicle’s documentation
- Loaded vehicle weighed
- Heavy items low and central
- Roof load light and within limits
- Cargo barrier fitted, cabin clear of loose heavy items
- Everything strapped down with rated tie-downs
- Recovery gear, first aid kit and extinguisher accessible
- Gas and fuel stored safely
Further reading
- Car camping and sleeping in your car
- 4WD recovery gear essentials
- How to choose a 12V camping fridge
- The Australian camping checklist
The bottom line
Know your vehicle’s limits from its documentation, weigh it loaded, keep heavy items low and central and the roof light, strap everything down and keep essentials accessible. A well-packed 4WD is safer, more comfortable and makes every camp easier.