Night Sky Photography While Camping in the Outback
Disclosure: As an Amazon Associate, OutbackKit earns from qualifying purchases. Some links on this page are affiliate links, so we may earn a small commission if you buy through them, at no extra cost to you. We only point to gear we’d be happy to take on our own trips.
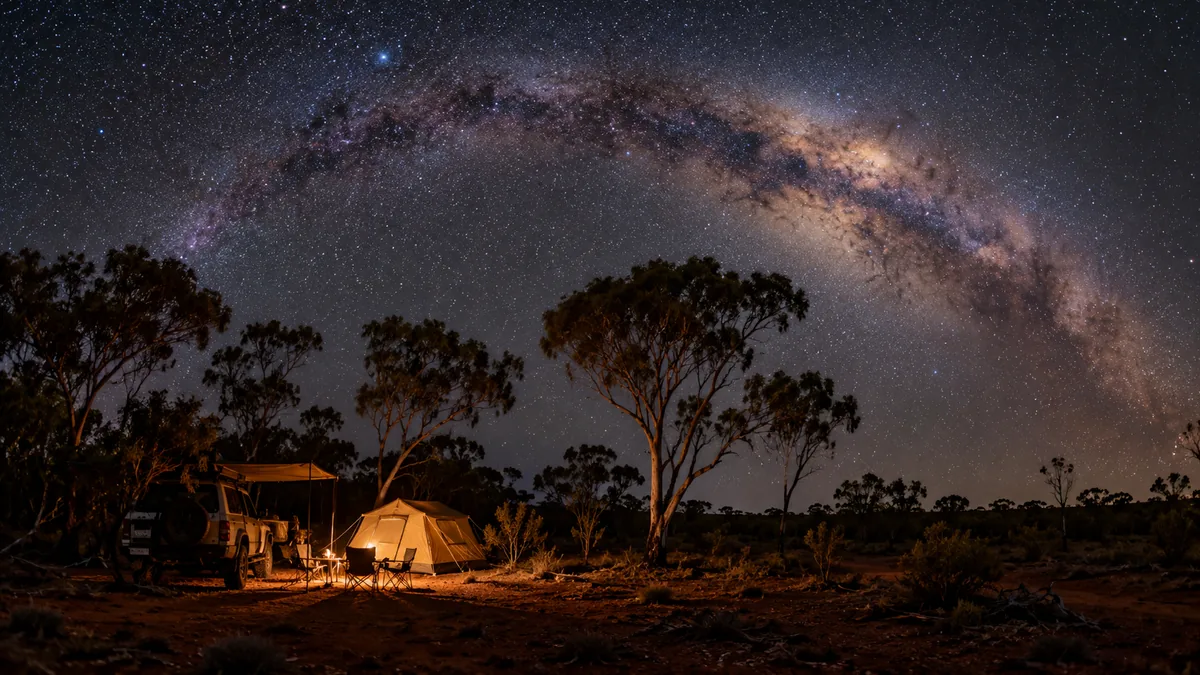
One of the best parts of camping in the outback happens after the sun goes down. With no city glow on the horizon, the sky fills with stars, the Milky Way stretches overhead and you can often pick out the Southern Cross and the Magellanic Clouds with the naked eye. The good news is that you don’t need expensive gear to capture it. A steady phone or a basic camera, a bit of planning and some patience go a long way.
Why dark skies matter
Light pollution from towns and cities washes out faint stars and the Milky Way. Even a small town can leave a glow on one part of the horizon. The further you get from artificial light, the more stars you’ll see and the better your photos will be. That’s what makes remote outback camps so good for night photography.
Finding a dark sky spot
- Look at a light pollution map (several free websites and apps show this) and aim for the darkest areas along your route.
- Pick a campsite with an open view of the sky, ideally with an interesting foreground such as a gum tree, rocky outcrop, your tent or your vehicle.
- Check which way the town glow is. Point your camera away from it.
- Scout in daylight. Work out your composition and any trip hazards before dark.
- Respect park rules, private property and cultural sites, and stay on designated tracks.
Timing: moon phase and the Milky Way
The moon matters more than almost anything else. A bright moon lights up the sky and drowns out the Milky Way. Plan around the new moon, or shoot when the moon has set or not yet risen. A moon phase app or website will tell you rise and set times.
Wait for full darkness. The sky keeps darkening well after sunset, so give it time after twilight ends.
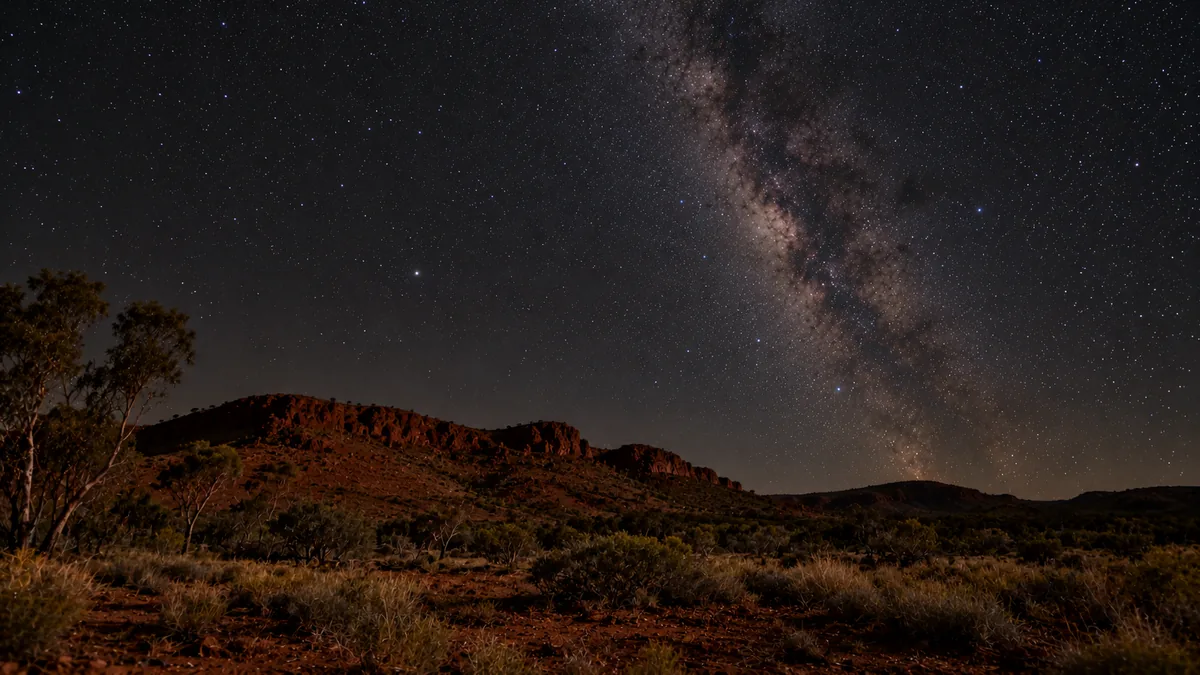
Milky Way season in Australia: the bright core of the Milky Way is generally best seen from roughly autumn through to early spring, and during the cooler months it rides high overhead in the evening, which happens to line up nicely with the main outback travel season. Outside those months it may only be visible very late at night or low on the horizon, or not at all. A stargazing app helps you see exactly where it will be on your dates.
Phone vs camera
Shooting with a phone
Many modern phones have a night mode that combines several exposures automatically.
- Use a tripod or prop the phone on something solid. Many phones allow a longer night exposure when they detect they’re steady.
- Turn off the flash.
- Tap to focus on a bright star or set focus manually if your camera app allows it.
- Use a timer or remote shutter so tapping the screen doesn’t shake the shot.
- Try a manual or “pro” mode if your phone has one, for control over ISO, shutter speed and focus.
Shooting with a camera
A camera that allows manual settings, ideally with a wide-angle lens, gives you the most control. Good starting points:
- Mode: manual, and shoot in RAW if you can.
- Aperture: as wide as your lens allows (the lowest f-number).
- Shutter speed: long enough to gather light but short enough that the stars stay as points rather than short streaks. Wider lenses tolerate longer exposures. Photographers often use the “500 rule” (500 divided by your lens’s full-frame-equivalent focal length gives a rough maximum in seconds) as a starting point, then check the result zoomed in.
- ISO: start fairly high, then adjust. Higher ISO is brighter but noisier.
- Focus: switch to manual focus, zoom in on a bright star in live view and adjust until it’s a sharp pinpoint. Don’t trust the infinity mark.
- White balance: set it manually so colours stay consistent between shots.
- Turn off image stabilisation when on a tripod, unless your manual recommends otherwise.
Take a test shot, check it zoomed in, adjust and repeat. Every location and every camera is a little different.
Gear that helps
- A sturdy tripod. This is the single most important accessory. Outback nights can be windy, so heavier and steadier is better. (camera tripods on Amazon) (phone tripods on Amazon)
- A phone tripod mount or clamp if you’re using a phone.
- A remote shutter or intervalometer, or use the camera’s built-in timer.
- A headtorch with a red light mode. (headtorch with red lights on Amazon)
- A power bank and spare batteries. Long exposures and the cold drain batteries quickly. (power banks on Amazon)
- A lens cloth and lens heater strip or hand warmer to deal with dew.
Light painting your tent or 4WD
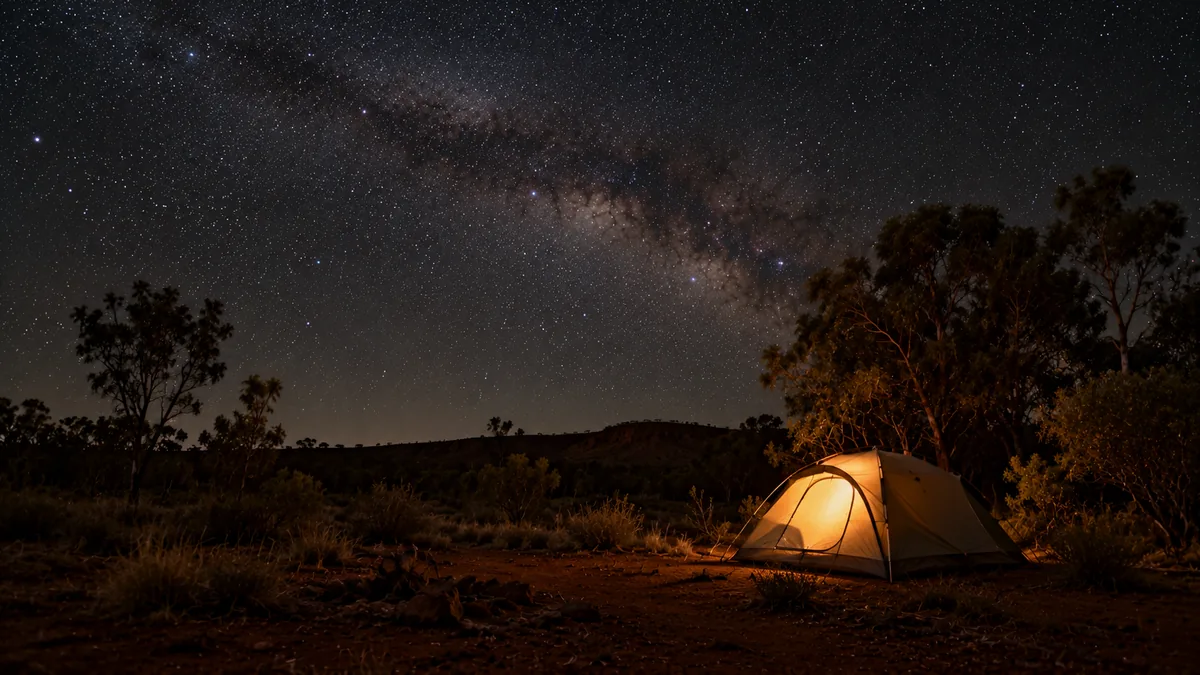
A softly lit tent or swag glowing under the stars makes a great photo.
- Put a dim lantern inside the tent and keep it low. Too bright and the tent turns into a white blob. (dimmable camp lanterns on Amazon)
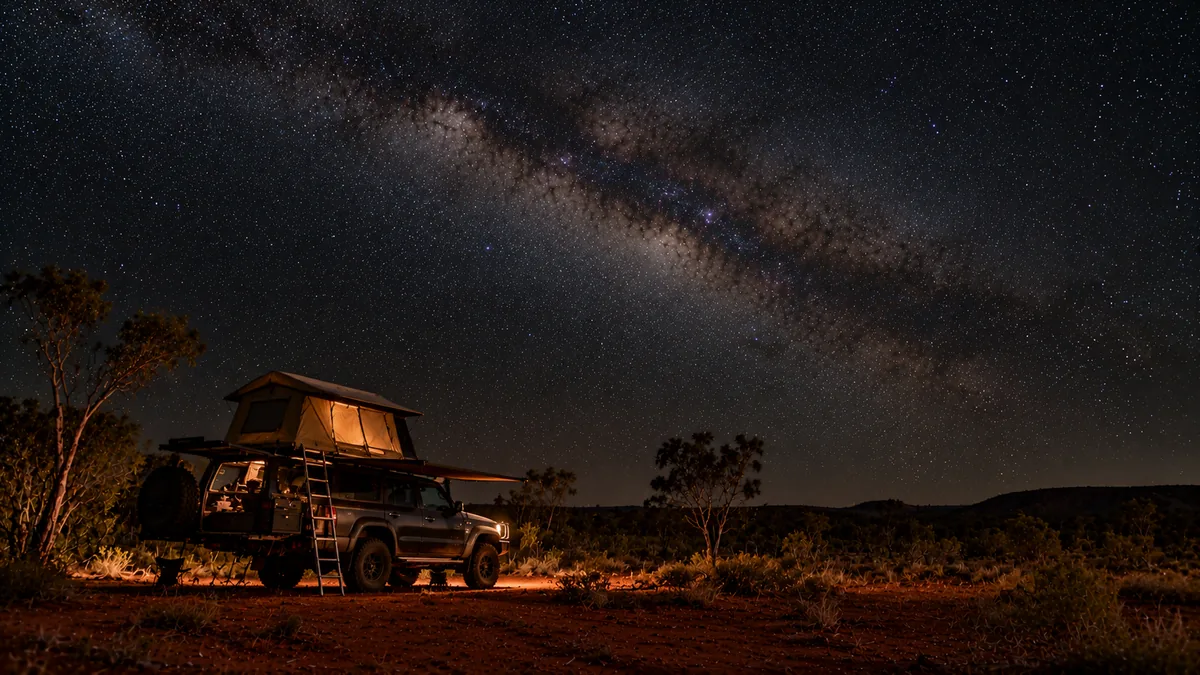
- For a vehicle or tree, briefly sweep a torch across it during the exposure. A second or two of gentle, indirect light is usually plenty.
- Warm light looks more natural than harsh blue-white light.
- Try several versions. Light painting is trial and error.
Star trails and campfire shots
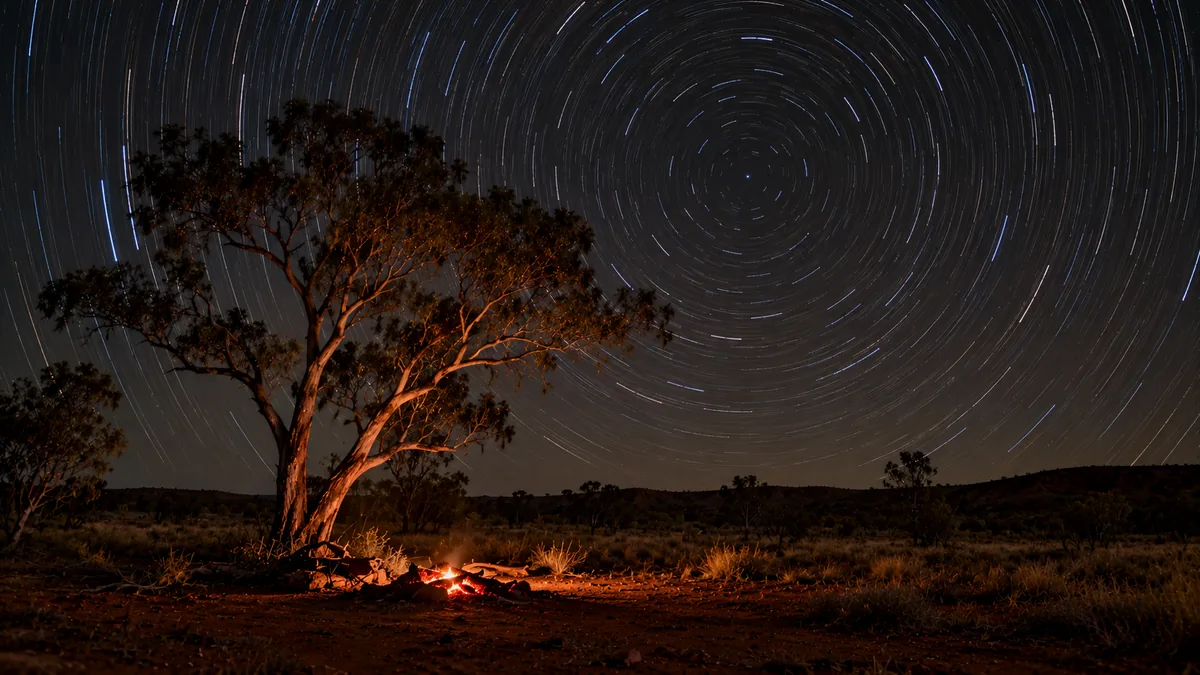
Star trails show the stars’ movement as long curved lines across the sky.
- Set your camera on a tripod and take many consecutive exposures with an intervalometer, then stack them with free star-trail software or an app. Alternatively, use a single very long exposure if your camera supports it.
- Point south to get star trails circling the south celestial pole.
- Make sure your batteries and memory card can last the session.
Campfire shots: a fire is far brighter than the stars, so it’s easy to overexpose. Keep the fire small, shoot after it has died down to embers, or keep it out of frame and let its glow light the foreground. Always follow fire restrictions and never leave a fire unattended while you shoot.
Headtorch etiquette
Your eyes take a while to fully adapt to the dark, and a bright white torch wipes that out instantly, for you and for everyone around you.
- Use red light mode at camp and while shooting.
- Don’t shine torches across other people’s campsites or cameras. One bright beam can ruin someone else’s long exposure.
- Let others know before you light paint if you’re camped near other photographers.
- Keep vehicle headlights and interior lights off when people are shooting.
Safety and cold nights
- Outback nights can get very cold, especially in winter. Wear thermals, a beanie, gloves and warm socks, and bring a warm drink.
- Watch your footing. Check the area in daylight for rocks, holes and edges.
- Wear closed shoes and watch for wildlife. Snakes and other animals are active at night in warmer months.
- Don’t wander far from camp alone. Tell someone where you’re going and carry a torch and a charged phone or comms device.
- Never stand on or near roads for night shots. Wildlife and vehicles are hard to see in the dark.
Quick night-shoot checklist
- New moon or moon below the horizon
- Dark spot, scouted in daylight
- Tripod or a solid surface
- Manual focus set on a bright star
- Wide aperture, long exposure and higher ISO as a starting point
- Red headtorch, spare batteries and power bank
- Warm clothes and a hot drink
Top of the line vs best value
Well-known options sold in Australia, if you want a starting point. We haven’t independently tested every one, prices change often, and the right choice depends on your trip, so check current prices, specs and warranty before buying. Not ready to buy? Pop it in your Amazon cart so it’s there when you are.
Headtorch
- Top of the line: Ledlenser H5R Work headtorch on Amazon · Add to Amazon cart: premium, bright and rechargeable.
- Best value: Black Diamond Spot on Amazon · Add to Amazon cart: budget-friendly, well-reviewed all-rounder.
Further reading
- The best time to camp in the outback
- Choosing a headtorch and camp lighting
- How to sleep warm in cold weather
- First outback camping trip checklist
The bottom line
The outback has some of the darkest, most spectacular night skies you can reach by car. Plan around the moon, get your camera steady, focus carefully and experiment. Even your first attempts can capture something you’ll never see from home.